Loading... Please wait...


Categories
Categories
Brands
Brands
HOW TO THREAD A BOBBIN
Posted by on
We're going to show you a step by step guide on how to thread a bobbin on your sewing
machine and also where to get your sewing machine user manual. We take you through
5 easy, simple steps to completing this process so that you can begin sewing on your
beautiful Singer, Husqvarna, Janome, Elna sewing machine or whatever you might be
working with. Links are provided below for your sewing machine user guide.
HOW TO THREAD A BOBBIN
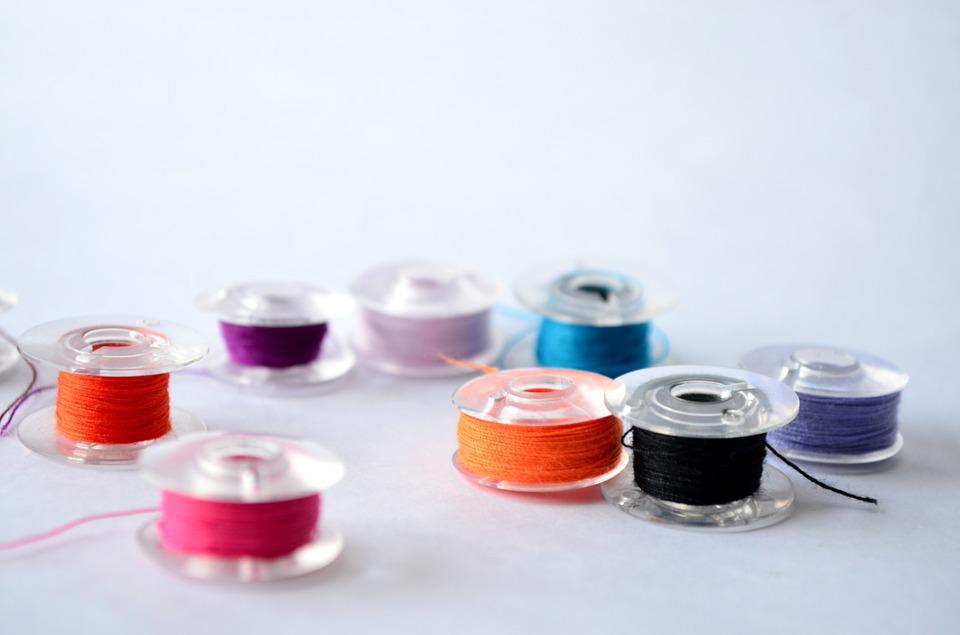
The bobbin is a
cylinder or cone holding thread that sits at the bottom of your
machine to make
your stitches. You would like to twine your bobbin with thread
so that you can
get started sewing right away.
Threading
the bobbin is easy so let’s get right into it.
The bobbin
your machine specifically uses might be different so you will want to
refer to
your sewing machine instruction manual
for the specific bobbin that your
machine needs should you need to install or replace one.
(Tip: Disengage the needle so that when you thread the bobbin the needle
won't
go up and down.)
Step one. Take your thread and place it on the thread holder on your
machine.
It’s probably on top. Here is a funny but accurate image, it’s like
installing a toilet
roll, the cylinder spool of thread goes over the thread
pole so that the machine
can properly unwind it onto your bobbin.
Step two. Find the tension disc. The tension disc is exactly what it
sounds like,
it’s there to hold tension so that when you wind up the bobbin
there isn’t any
slack in the thread that could cause tangling etc.
Once your
thread has been placed on the thread holder you will want to take a
line of
thread and wrap it around the tension disc. Note: do not coil the thread
like
a hose around the tension disc. The thread should only go around the
shoulder
edge of the disc.
Step three. Next take the end of your thread and look for a tiny hole in
the
bobbin. You will want to take your thread through the hole of the bobbin
starting
from the inside coming out. You only need to pull enough thread
through the hole
so you can hold it, about 6 inches should do.
Step four. Once your thread has been pulled through the tiny hole on
your
bobbin you will want to attach the bobbin to the bobbin spindle which is
probably* on top of your machine but all this depends on what specific machine
you have. Before moving onto the next step you will need to lock the spindle in
place. Make sure you still have your thread in hand.
Step five. Hold the top of your thread giving it a tiny bit of tension
so that when
using the Presser Foot the thread will be relatively tight and not
get tangled.
You do not
need to pull hard. Now step on the Presser Foot to begin threading
your bobbin.
After a few spins you can snip off the end of the thread you were
holding. When you’re finished winding the bobbin snip the thread.
Congratulations, you have successfully threaded your bobbin!
If you need help finding where on your specific machine the thread holder,
tension disc, or bobbin spindle is you will need to consult the sewing machine
instruction manual aka user guide or user manual for exact details which you can find here
https://www.sewingnz.com/free-sewing-machine-manua...
Unfortunately I can’t tell you where on your specific sewing machine these
things
are located because I don’t know what machine you are working with.
The one I
have threaded is a Singer and it was all on top, easy peasy.
But even
different models of Singer will be different.
Do you have a Janome, Husqvarna, Elna or Brother
sewing machine?
DOWNLOAD a digital sewing machine instruction manual here.
https://www.sewingnz.com/free-sewing-machine-manuals/
we have manuals for many brands
from Baby Lock to Pfaff.